
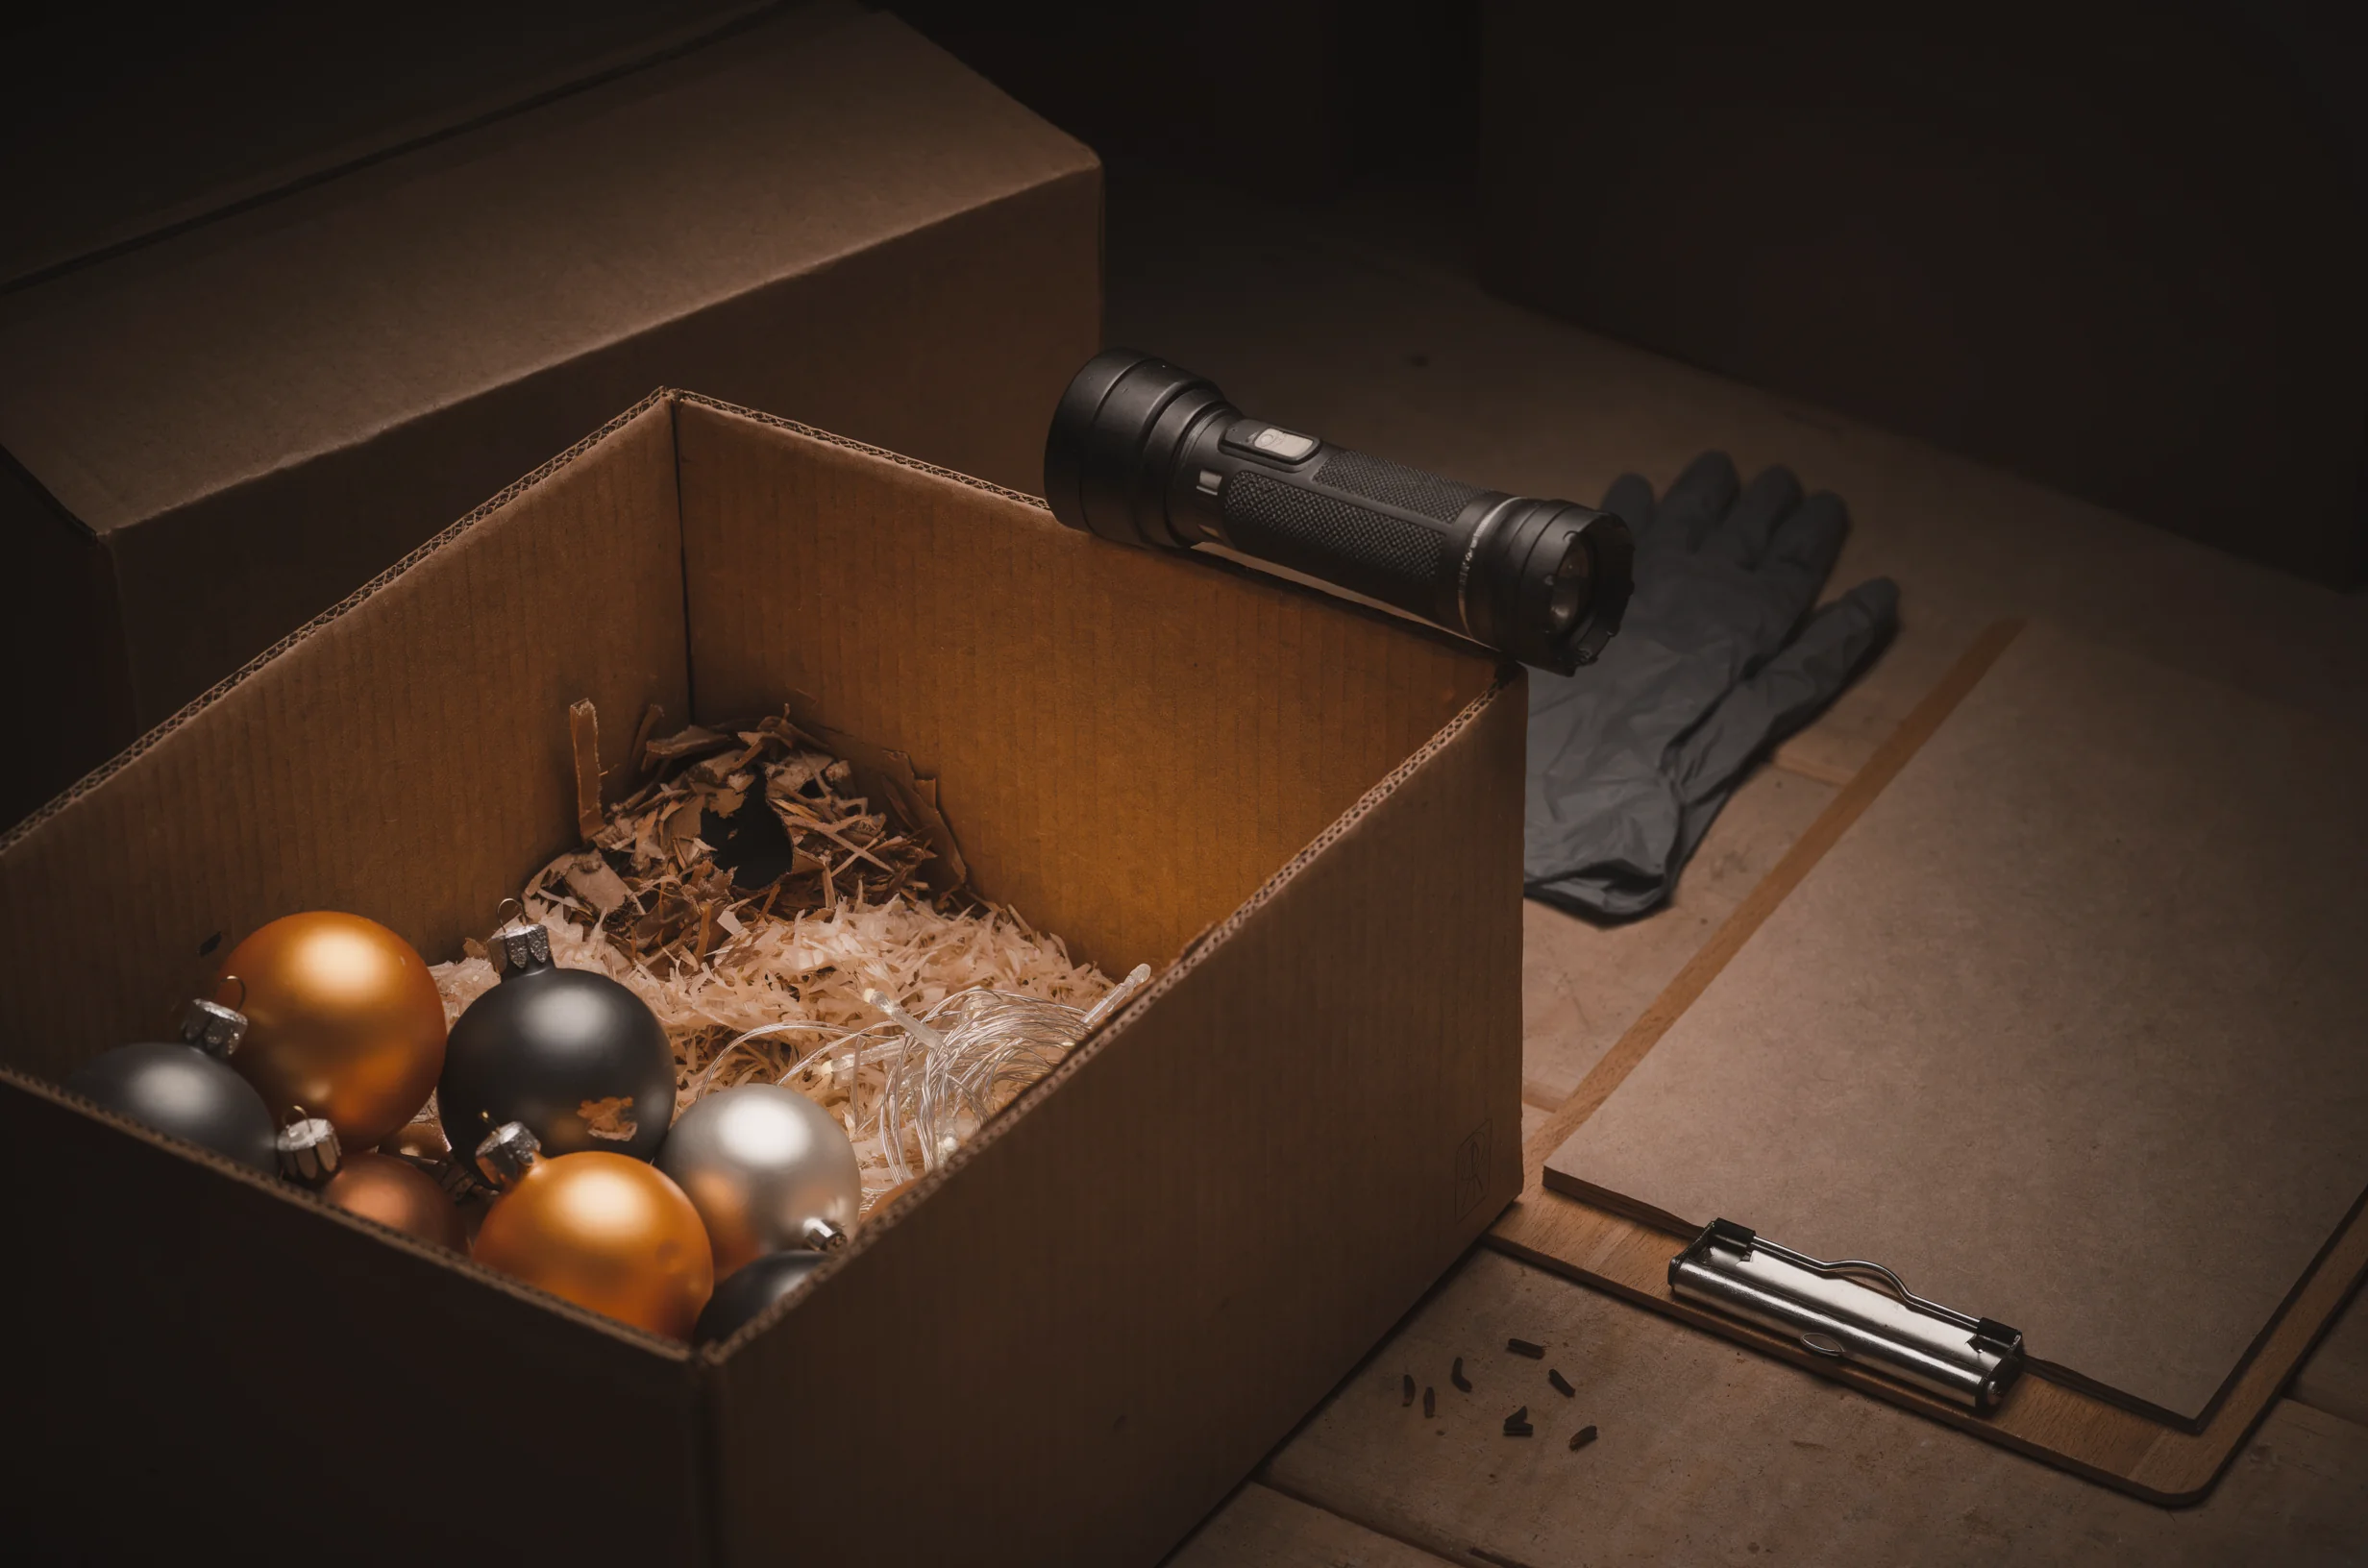
Finding signs of mice nesting in stored Christmas decorations is an unwelcome start to decorating, but you can work through the contents calmly. Some hard decorations can be cleaned; nesting paper, heavily affected porous items and damaged lights need a different decision.
Allow around 30–60 minutes for an initial check and sorting of a small affected box, plus the time needed for disinfectant contact, washing and drying. I’d follow the route below from the unopened box to its contents, electrical items and surrounding storage, stopping if the problem extends beyond a manageable household clean-up.
Keep the affected box contained
The first job is to keep droppings and nesting material from spreading as you investigate the decorations.
1. Pause unpacking and keep other people away
Leave the box in its storage area if you can reach and inspect it safely. Keep children and pets away, and avoid setting it on a bed, sofa, kitchen worktop or dining table.
Check the outside before lifting it: a chewed corner, loose droppings beneath the base or shredded tissue poking through a hole means material could fall out during the move. Photograph those signs without disturbing them.
If the box must move, place it inside a larger sound container without tipping or shaking it. A collapsing cardboard base is a reason to stop handling it until you have support underneath.
Keep apparently unaffected boxes separate until you have checked their lids, bases and surrounding shelves.
2. Decide whether the area is suitable for a small clean-up
Look around the box before focusing on individual baubles. Check the shelf, floor edge and nearby stored belongings for further droppings, shredded material or obvious chewing.
A small, accessible patch is different from droppings spread across loft insulation, several cupboards or a cramped roof space. Heavy accumulation, multiple nests, dead rodents or an area you cannot reach safely are reasons to seek professional advice before proceeding.
An inspection by BuzzKill Pest Control can help establish how far mouse activity extends before you move more belongings. Cleaning one Christmas box will not address activity elsewhere in the property.
In a loft, work only from a safe, supported position; do not step between joists or lean across insulation.
Prepare gloves, airflow and cleaning supplies
Set up the cleaning area before opening the affected packaging further.
3. Gather the kit and separate clean from unclean items
You’ll need protective rubber or plastic gloves, disposable towels, suitable disinfectant, waste bags and a washable tray or container for retained decorations. Keep the product label available throughout the job.
Wear clothing that covers your skin and cover existing cuts with waterproof dressings. Gloves should be intact and suitable for the cleaning product you plan to use.
Set aside separate places for items awaiting cleaning, items ready to discard and items that have been cleaned. A decoration should move into the clean area only after its cleaning or washing process is complete.
Keep drinks, snacks and your phone away from the work surface. If you need another photograph, take it before starting the wet clean-up.
4. Ventilate safely and read the disinfectant instructions
Open accessible windows or outside doors where practical, and allow fresh air into the space before disturbing the contents. Avoid directing a fan at the box or using airflow that blows loose material around.
A poorly ventilated loft or enclosed cupboard may need a different approach, particularly when evidence is widespread. Do not assume that wearing an ordinary face covering makes a dusty or heavily affected space suitable for DIY cleaning.
Choose a disinfectant whose label permits use on the surface concerned. Check dilution, required protective equipment and contact time, which is how long the surface must remain wet.
Never mix cleaning products, and do not add bleach to another cleaner. If the label excludes a decoration’s material, put that item aside for a separate decision.
Lift droppings with a wet cleaning method
Remove mouse waste without brushing, shaking or vacuuming it into the air.
5. Wet the droppings before lifting them
Do not dry sweep, brush or vacuum droppings or nesting material. Avoid shaking out tinsel, snapping open folded fabric or tipping a box into a bin.
With gloves on, gently wet the affected waste using a suitable disinfectant according to its label. Apply it without scattering the material, and leave it for the stated contact time before lifting it with disposable towels.
Work in small patches so you can control what you touch. If the surface dries before the required contact period ends, follow the product’s instructions for reapplication.
Lift nesting tissue together rather than pulling it apart to inspect the centre. If live mice or young are present, stop disturbing the nest and seek advice about handling the active problem.
6. Clean the exposed surface and contain the waste
Once the loose waste has been removed, clean and disinfect the accessible hard surface beneath it according to the product instructions. Remove visible dirt first where the label requires a separate cleaning stage.
Put used towels and discarded nesting material straight into a waste bag without squeezing out air towards your face. Seal the bag, use a second bag if leakage or damage is possible, and follow local disposal arrangements.
Clean reusable equipment and gloves as their instructions allow, then remove gloves carefully and wash your hands with soap and water. Change gloves if they tear or if you need to handle clean belongings.
At this stage, the area should have no visible droppings or nesting material. Keep retained decorations separate until their own cleaning and drying are finished.
Choose what to keep, wash or bin
The decoration’s material and construction determine whether you can reach and clean every affected surface.
7. Keep suitable hard decorations after thorough cleaning
Plain glass, glazed ceramic and some hard plastic decorations may be worth keeping if they are intact and compatible with cleaning and disinfection. Inspect seams, hooks and recessed details before deciding.
An item passes this check when you can reach the affected surfaces without damaging it and follow the cleaning product’s directions. Wash away visible dirt where required, disinfect, rinse if instructed and let it dry completely.
A shiny finish alone does not make an ornament washable. Painted coatings, glued decorations and hollow pieces with inaccessible interiors may prevent a thorough clean.
If liquid or nesting material has entered somewhere you cannot reach, set the item aside rather than returning it to the clean box.
8. Wash fabrics only when their care instructions allow it
Check stockings, fabric tree skirts, cushion covers and washable hanging decorations individually. A removable fabric cover may be easier to deal with than a padded ornament with fixed stuffing.
Handle fabrics gently and move them to the washing machine without shaking them. Wash with detergent using the hottest programme permitted by the care label, then dry fully as directed.
Keep an item aside if there is no care label, its filling cannot be washed, or it remains visibly affected after washing. A quick surface wipe cannot reach waste inside padding.
For delicate or valuable textiles, describe the mouse contact to a specialist cleaner before handing them over. Do not put unwashed items back among clean Christmas linens.
9. Discard nesting paper and affected porous packaging
Bin shredded wrapping paper, tissue, cardboard inserts and other packaging used as nesting material. These pieces are difficult to clean throughout, and keeping them preserves the material you are trying to remove.
The same decision usually suits visibly affected paper decorations, unsealed cardboard ornaments and felt pieces that cannot tolerate suitable washing. Check folded edges and glued layers before deciding that only the outside needs attention.
Remove loose waste using the wet method before handling the remaining packaging. Avoid flattening affected cardboard against your clothing or carrying it uncovered through the house.
Sound decorations inside damaged packaging still need individual inspection. Replace the packaging after cleaning the items rather than putting them back into the original cardboard compartments.
10. Treat artificial trees, wreaths and tinsel as mixed materials
Spread-out branches, fabric ribbon, flocking and tightly wound tinsel can hide waste beyond the first visible patch. Inspect these items gently over the designated work area.
A plain, non-electrical item may be salvageable if its manufacturer allows thorough cleaning and every affected part is accessible. Follow those instructions and leave enough space for complete drying.
An item containing nesting material deep within dense branches, absorbent flocking or fixed fabric is harder to clean reliably. Discard affected components where they detach; consider discarding the whole item when the affected area cannot be reached.
For several boxes, a simple digital keep-or-bin selector could record material, washability, nesting evidence and electrical damage. Uncertain items should remain marked for advice rather than being automatically classed as safe.
Check every light cable before use
Keep Christmas lights unplugged throughout inspection, including sets that appear unaffected at first glance.
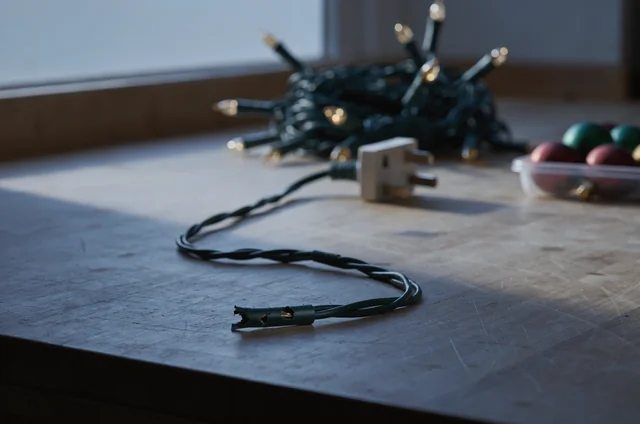
11. Inspect the complete cable, plug and battery compartment
Follow each cable along its full length in good light, without pulling it tight. Look for tooth marks, splits, exposed inner wires, damaged connectors and signs that mice have entered a battery compartment.
Any of those findings means the set should stay out of use. Do not plug it in briefly to see whether it still works, and do not cover damage with tape.
Check extension leads and adapters stored in the same box. For battery decorations, keep the item switched off and avoid handling damaged or leaking batteries.
A set with waste inside its plug, controller or other electrical housing also needs separate advice. Do not spray, soak or rinse electrical components.
12. Separate damaged lights from household wiring concerns
Replace damaged decorative light sets or obtain appropriate professional advice where repair is supported by the manufacturer. Keep rejected sets apart so nobody mistakes them for usable decorations.
If you spot chewing on fixed loft wiring, sockets or a household cable, stop handling the area and arrange an assessment by a qualified electrician. Cleaning the decorations does not establish that nearby electrics are safe.
Our guide to protecting cables from mice covers protection considerations after damage and mouse access have been addressed. A guard cannot repair an already damaged cable.
Photograph visible damage from a safe position and note where it sits relative to the affected box. Leave fixed electrical fittings unopened.
Put clean decorations into safer storage
Repacking is useful only after the retained decorations and their replacement container are clean and completely dry.
13. Replace damaged boxes and keep the contents inspectable
Choose a sturdy container with a properly fitting lid, and inspect its corners, hinges and base before use. A cracked tub or a lid that leaves an open gap needs replacing.
Use clean dividers and packing materials rather than reusing affected tissue. Keep delicate items protected without filling every spare space with loose paper that hides the bottom of the container.
Label the box with its contents and the date you checked it. If several people share the storage area, mark electrical items awaiting inspection separately from decorations ready to use.
Position the container where you can see its sides and remove it without dragging it through debris. Avoid stacking it so tightly against surrounding belongings that future checks become difficult.
14. Check the shelf, cupboard and route back to storage
Inspect the area immediately around the original box, including pipe openings, cupboard corners and gaps behind adjacent shelving. Keep photographs of suspected entry points before moving anything back.
If the storage area connects with kitchen cupboards, this guide to materials for mouse proofing can help with choosing suitable repairs. Preserve necessary ventilation and seek advice about openings near electrical services.
Remove accessible food sources nearby, such as forgotten edible decorations or poorly closed pet-food packaging. Store usable food securely and discard anything visibly affected by mice.
If you rent, send the landlord or letting agent dated photographs and the location of the signs. Record the affected cupboard or loft corner precisely so the inspection covers the right area.
Questions about keeping affected Christmas decorations
These decisions often arise once the obvious waste has been removed and you are left with uncertain items.
15. Does one affected box mean everything in the loft must go?
No. Inspect neighbouring containers and the surfaces around them rather than discarding belongings solely because they share the room.
A closed, undamaged tub with no signs of entry needs a different decision from an open cardboard box containing nesting material. Check its exterior before opening it, and keep it away from the affected work area.
Broaden the inspection if you find droppings across several shelves or beneath multiple boxes. That pattern means the problem extends beyond the first container you opened.
Avoid emptying the entire loft at once. Work through accessible areas in sequence and stop if the scale exceeds a small household clean-up.
16. Can I save an irreplaceable handmade ornament?
Possibly, but its construction matters more than its sentimental value when choosing a cleaning method. Photograph it and keep it separate while you assess the materials.
A hard ornament with an accessible surface may tolerate cleaning, whereas absorbent paper, fixed stuffing or intricate glued layers may not. Do not experiment with stronger chemicals to force a result.
For a valuable object, describe the droppings, nesting or urine contact to a conservator or suitable specialist. Keep the item contained while awaiting advice.
If it cannot be cleaned without damage, consider preserving a photograph instead of putting it back into household use.
17. What if I have already swept or vacuumed the box?
Stop dry cleaning and keep other people away while you assess what remains. Ventilate safely without directing air across the affected surface.
Do not empty a vacuum’s contents indoors or shake its filter to remove the waste. Check the manufacturer’s instructions and seek advice about cleaning or handling the appliance after rodent waste has entered it.
Use the wet method for remaining accessible droppings, with gloves and a suitable disinfectant. Clean nearby hard surfaces that received visible debris.
If the original area was heavily affected, leave further disturbance to a professional rather than trying to finish quickly.
Check whether mice are still using the storage area
A cleaned decoration box gives you a starting point for checking whether activity continues.
18. Compare the cleaned area with dated photographs
Photograph the clean shelf or floor edge and note when you finished. Recheck accessible areas regularly over the following days, without repeatedly disturbing untouched belongings.
New droppings on a surface you know was cleaned, further shredded packaging or fresh chewing are reasons to act. Photograph the change before removing waste using the same wet method.
The appearance of an isolated dropping does not reliably tell you when it was left. Compare changes in the same cleaned location instead of judging age from colour alone.
During a BuzzKill Pest Control inspection, dated notes and photographs can help explain where evidence has returned. Record sightings and sounds alongside the physical signs.
19. Match the finding to monitoring, repair or inspection
Monitor an accessible area when you have removed a small amount of old evidence and subsequent checks show no change. Keep the area inspectable; a few quiet checks cannot establish that the entire property is clear.
Take a practical first step where you find damaged storage or an accessible food source: replace the container, secure the food and arrange suitable repairs to confirmed entry points. Continue checking after those changes.
Consider a same-day professional inspection when new droppings appear after cleaning, mice are seen repeatedly, several storage areas are affected or nesting continues. Seek electrical help separately for chewed fixed wiring.
Keep photographs, isolate damaged lights and leave difficult loft spaces undisturbed until the appropriate person can assess them.
Need professional help? BuzzKill offers fast, reliable pest control services across London and Essex.